So, I'm going to give it a try:
- The following is an adaptation of Annie's basic black & white pattern. You can get a printable copy here. This removes the need to double and paste (Step 4).

- As with Annie's site, you fold back and forth on all the solid lines.

- It's the next step where Annie lost me. So what you do is make a valley fold (i.e., fold towards you) along the marked line.

- Next, make a mountain fold (i.e., away from you) along the marked line.
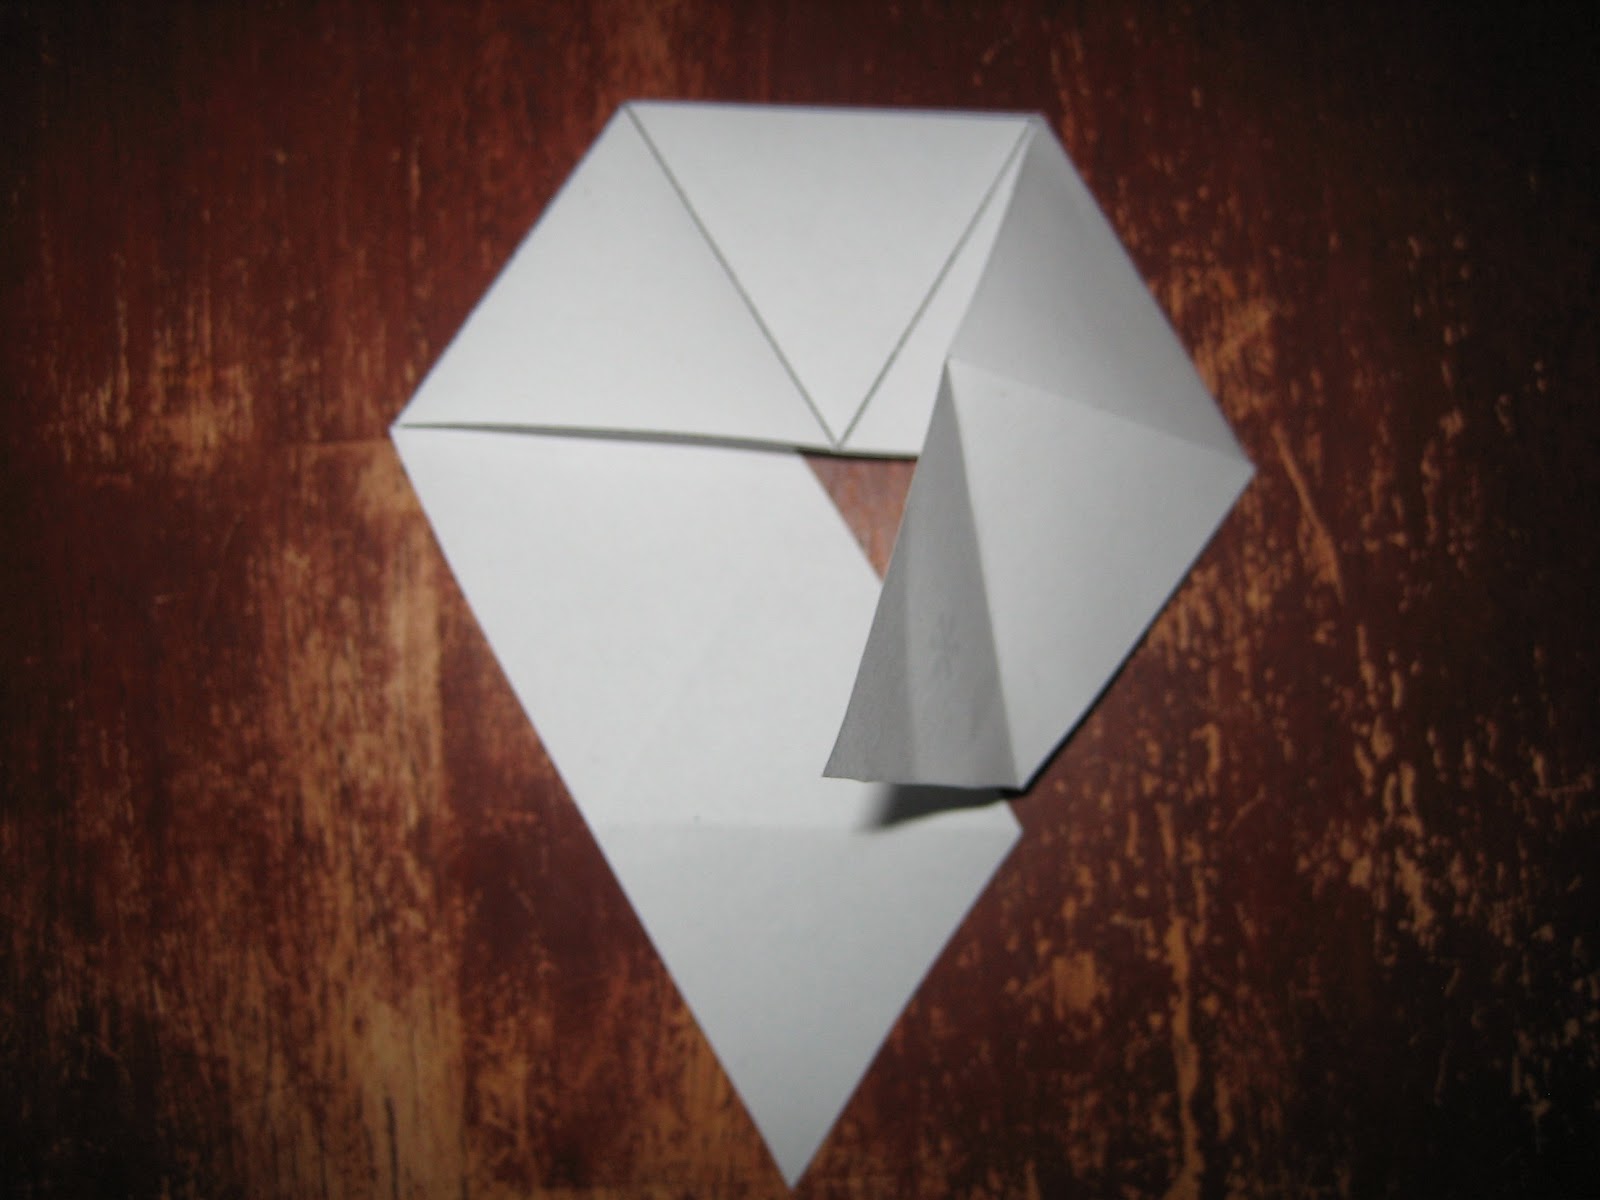
- As part of the mountain fold, the piece that has just been mountain folded should end up on top of the piece that was valley folded.

- It should now look like this.

- Flip the paper over (left to right or right to left). If you plan to use paste, then put paste on the triangles that have the asterisks and fold them together. If you plan to use tape, then cut along the marked line and tape the remaining triangle with the asterisk to the edge you just cut.

- It's now ready to flex.

Re-reading Karyn's post, I realize it's not entirely obvious exactly how to flex the flexagon. Maybe that's another post.
No comments:
Post a Comment